Creating a Polish advert
If you are looking for talent in different countries, ATS Recruitis allows you to create a foreign response form for a specific position.
Now let's see how to properly set up the individual elements specifically for the Polish ad:
1. Setting up a foreign language reply form
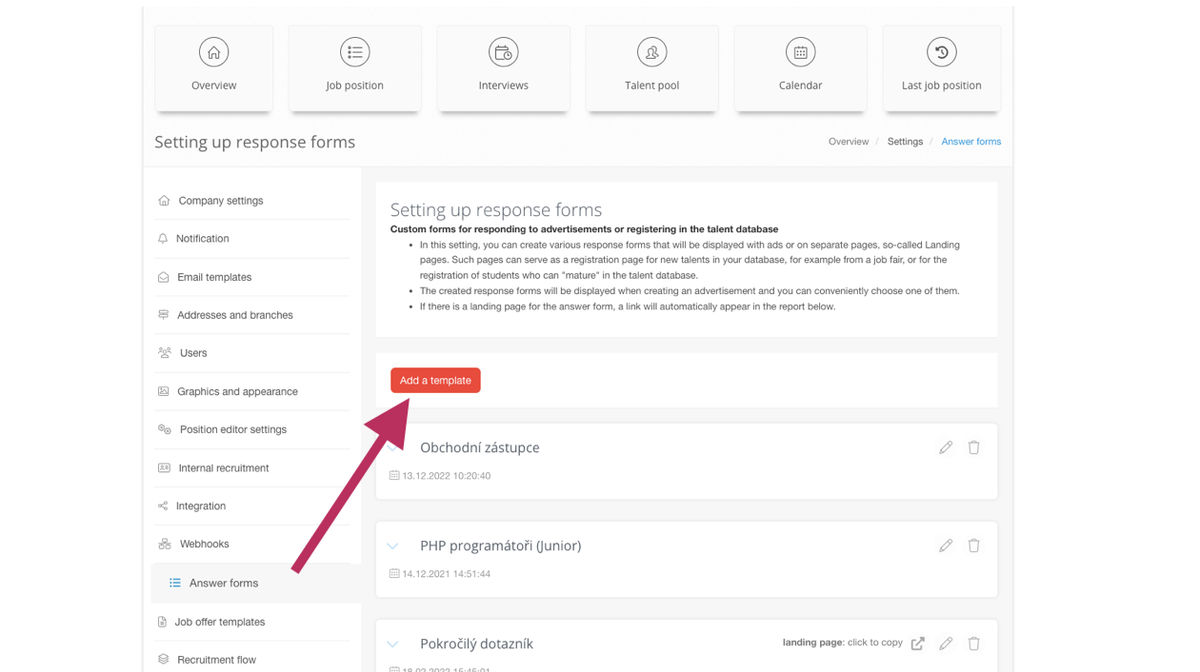
You start by adding a new template by clicking on the "Add Template" button in the Settings | Response Forms Add the necessary form elements and set their labels in a foreign language (in our case Polish).
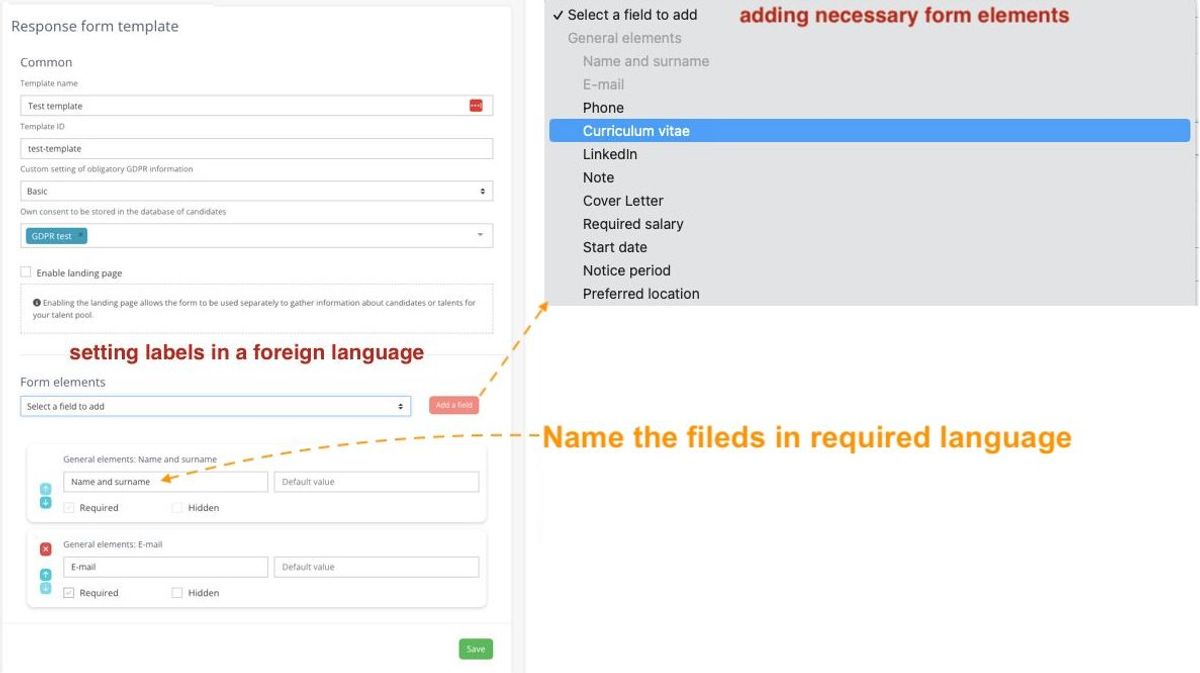
💡In order to have a selection of tags in a foreign language, the tags need to be set in a foreign language in the Nabuilding | Tag Management.
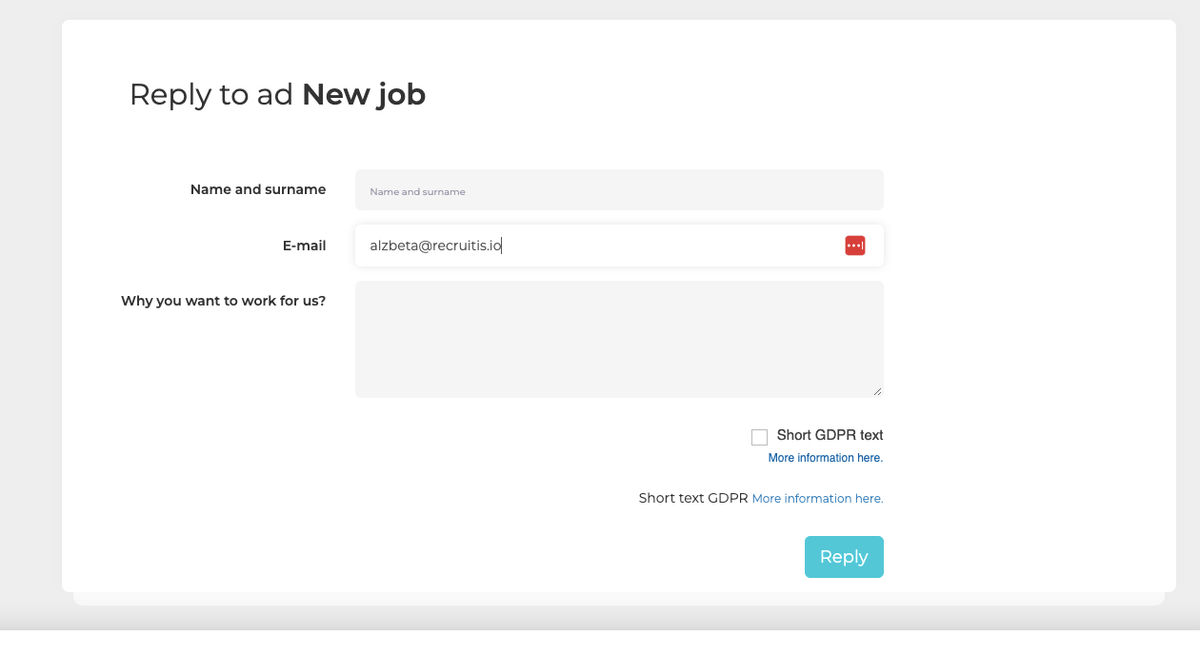
2. Create custom GDPR consents in a foreign language
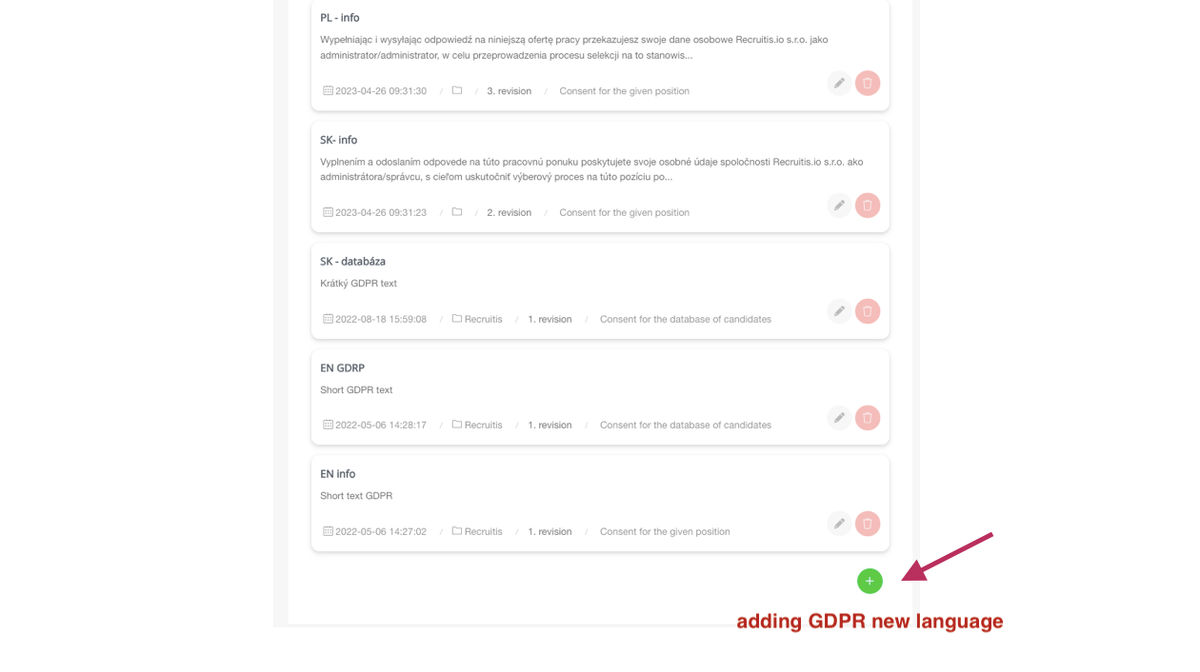
You can create foreign language versions of GDPR consents in the Settings | Legal Information Settings menu at the bottom under "Consents for custom response forms". For a new language, you need to create:
- at least one version of the consent with storage in the database (i.e. the one with a checkbox - candidate can choose whether or not to give it)
- you can create more versions and use more versions in one answer form in case you are for instance a group of companies and you want to give candidates an option to choose to which entity the consent goes.
- one version of the information consent (i.e. the one without a checkbox, collected by candidate's application to the specific position).
💡 It's not enough to translate the Czech version of the GDPR texts, but you also need to take into account the local legislation in the country where you want to publish your adverts. Your DPO should provide you with the necessary information.
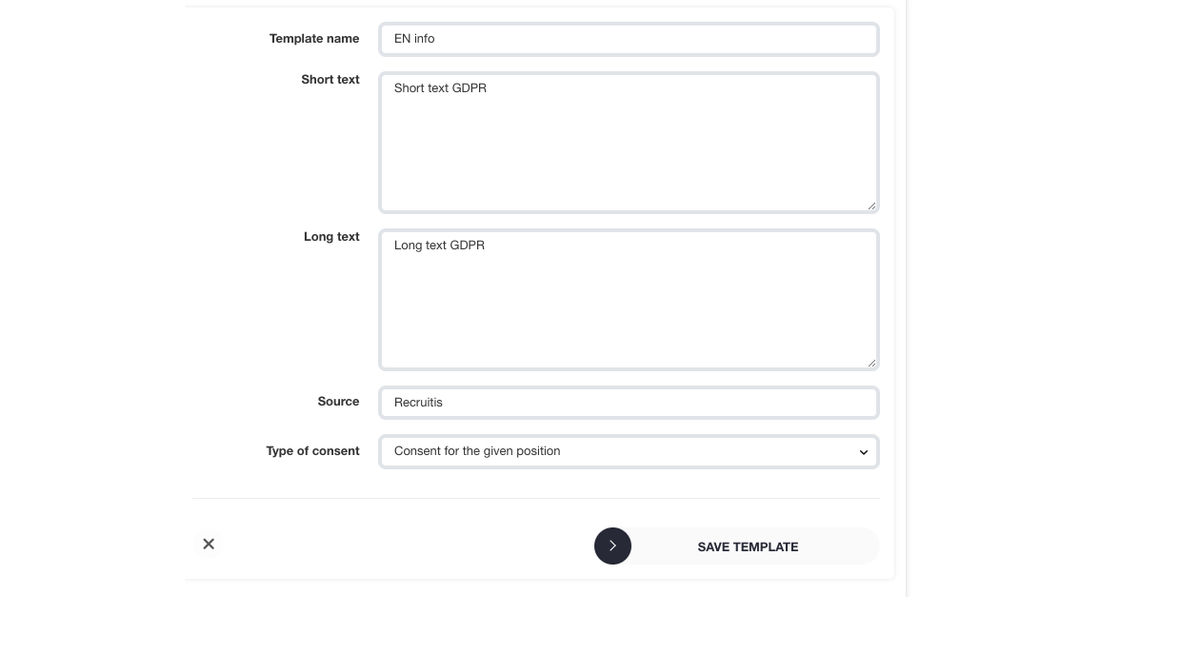
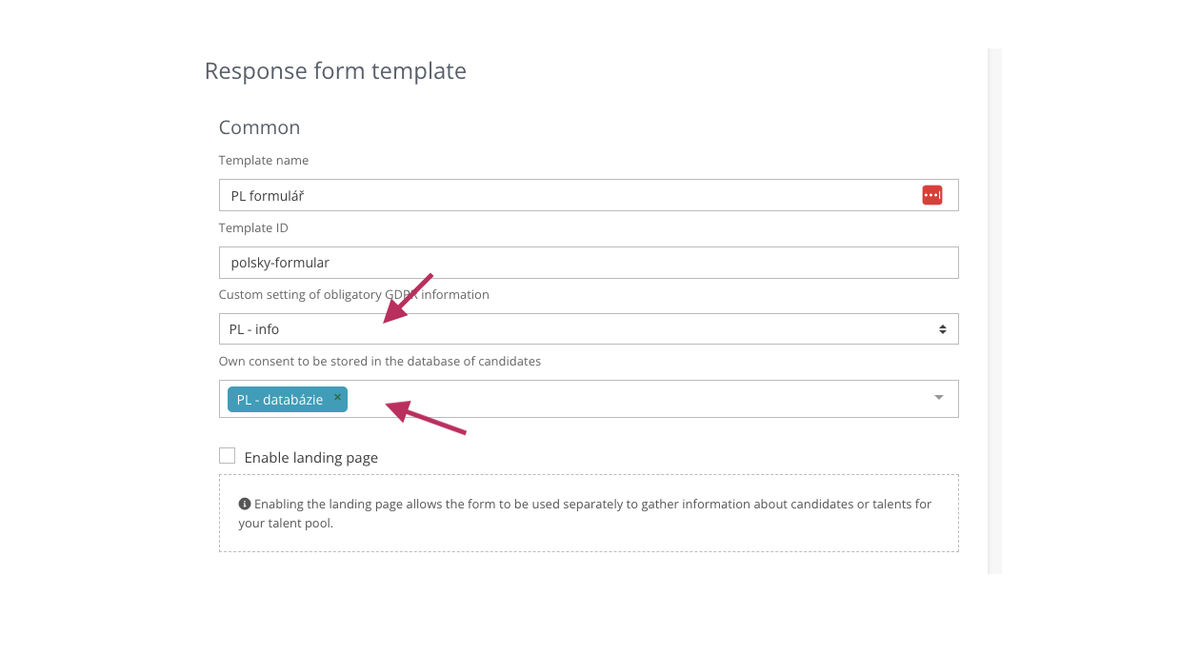
You can then add foreign language versions of the GDPR consent form in the response form settings and save the template for the Polish version of the response form. You can then proceed to create a foreign position in Polish.
3. Creating a foreign job position
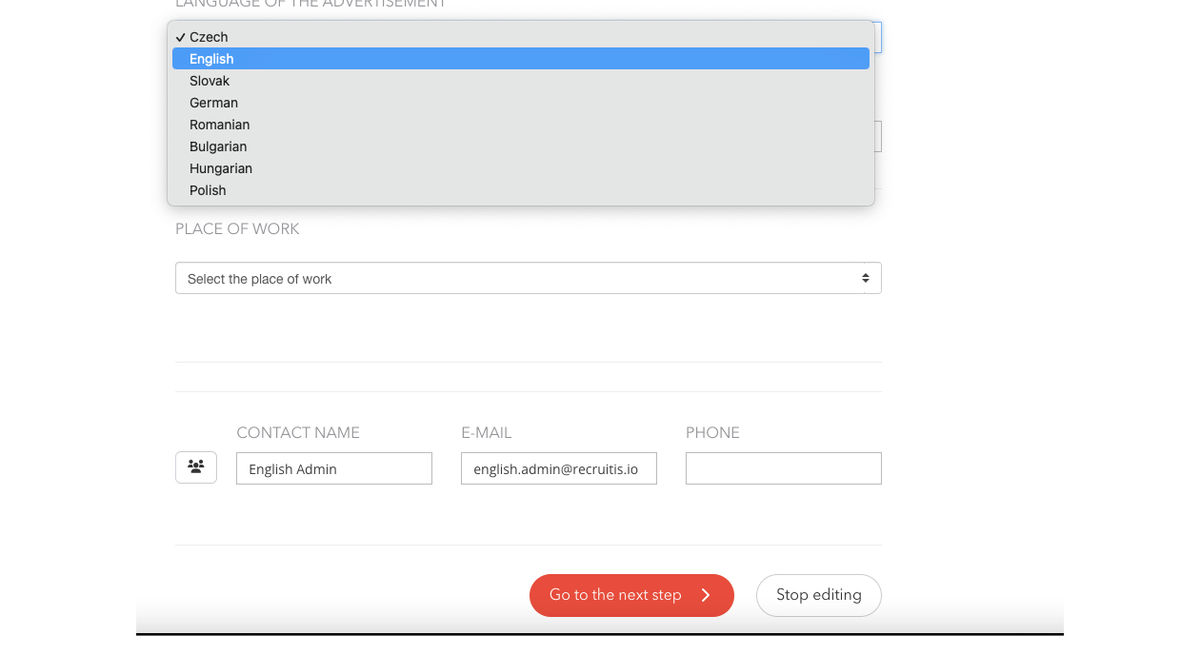
On the first page of the job editor, you fill in the required information about the job and select the desired language in the "language of the advertisement". In our case it is Polish.
💡 The language of the advert doesn't mean that the text is translated into Polish or anything like that. Primarily it's a flag that then controls communication with candidates - e.g. auto-responder, NPS, etc.
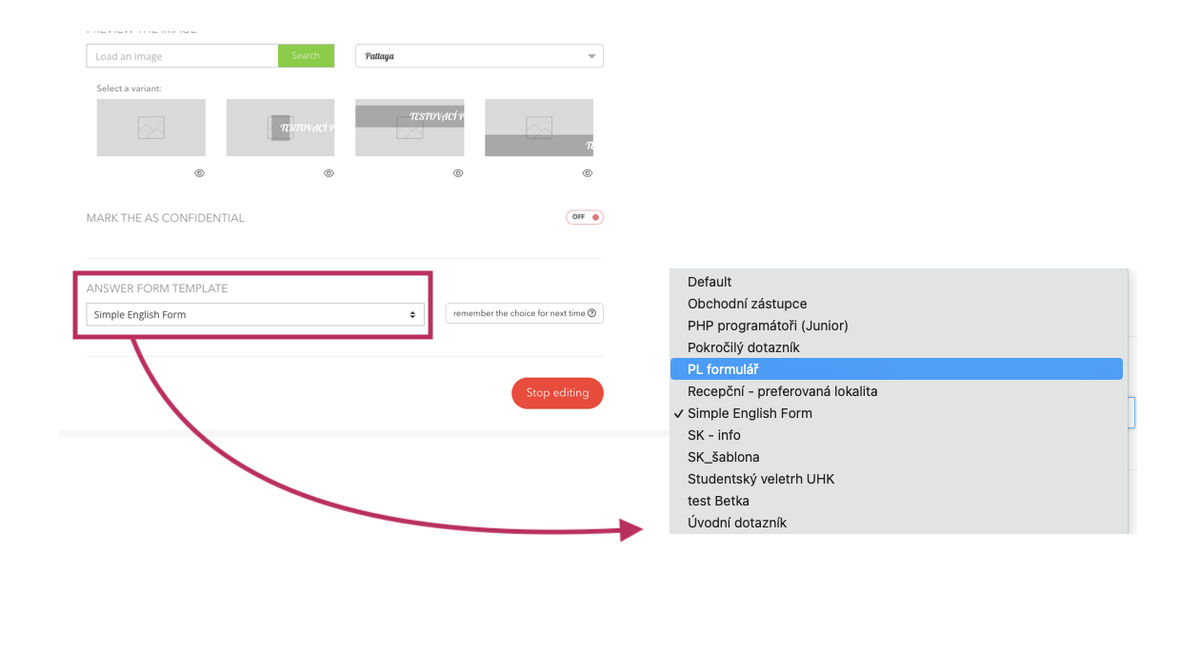
You then continue in the editor and fill in the additional data. At the bottom of the page, under "Response form template", select the template you have just created for the Polish position. The position is ready for publication.
Using a link to a specific response form
To use the answer form on third-party websites (career sites, job portals), the "csid" parameter is used in the URL address (for a description of this functionality, see Settings | Manage answer sources), you can tag such candidates directly with the source with the portal name.
💡 Example:
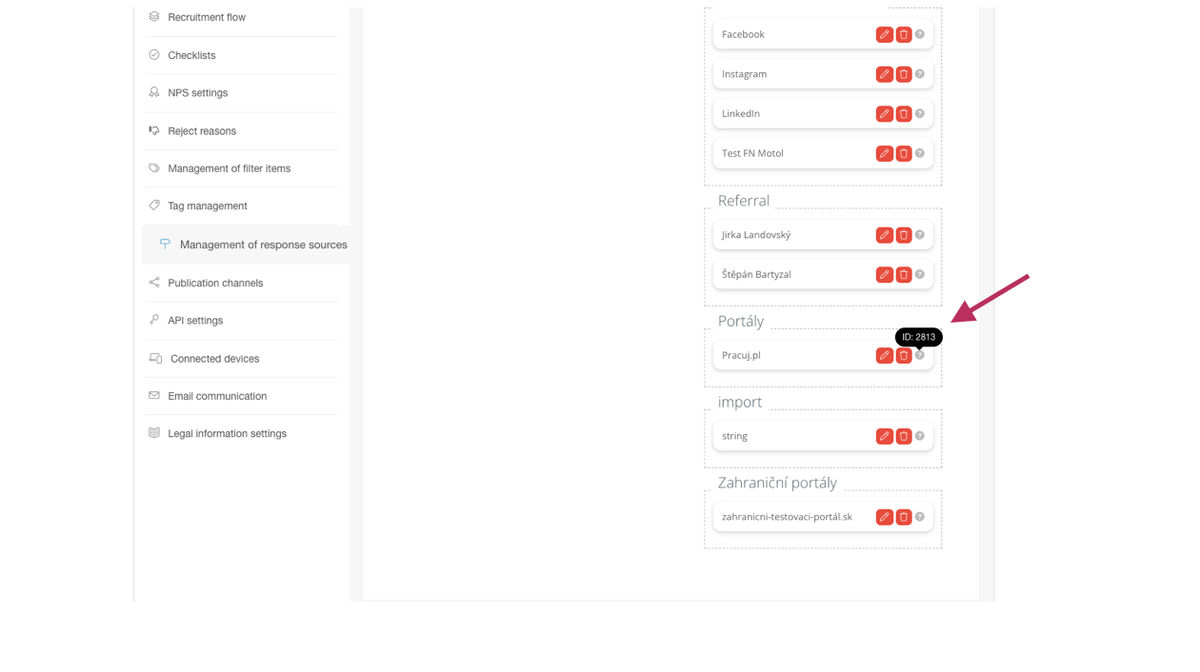
You want to place an advertisement on "pracuj.pl". You click on "Settings" then on "Answer Sources", where you add a new source and copy its ID (the page name does not have to match the source name, it's just for clarity).
Example procedure:
1. I get the ID of the resource I want to use for the form.
2. Get the URL of the form for the position
3. I add the source ID via the "csid" parameter to the URL
4. I will use the resulting link as a link to the answer form e.g. on the job portal
💡 The resulting URL will be: https://app.recruitis.io/answer/form/XH5CgIncRFjgpiMxtchNHHpfUR5jgquh/pl?csid=2813
(note: if you create a feed on your account, it will have a different ID than the one used here in this example)

When the form is submitted, the source name is immediately assigned to the answer, so it is clear from which source the candidate answered.
Related articles
Definition of flow recruitment
The recruitment process is a key element of the ATS Recruitis setup. You can set more than one according to different types of your positions.